Why?
It's good to monitor your site performance on regular basis. New content like images, tracking pixels and server issues can be problems that affect your site's performance. Lighthouse is a tool which can point out these issues to you.
What is Lighthouse?
Lighthouse is an open-source, automated tool for improving the quality of web pages. You can run it against any web page, public or requiring authentication. It has audits for performance, accessibility, progressive web apps, and more. –Lighthouse Website
Getting started
In this tutorial I'll teach you how to run a simple scheduled Lighthouse performance test on your site using GitLab's free CI service.
What is GitLab?
GitLab is a single application for the entire software development lifecycle. From project planning and source code management to CI/CD, monitoring, and security. –GitLab About page
GitLab is considered alternative to GitHub.
1. Set up GitLab
Register here.
2. Create new repository
Begin by creating new project pressing the New Project button on your GitLab root page

Give your project a name
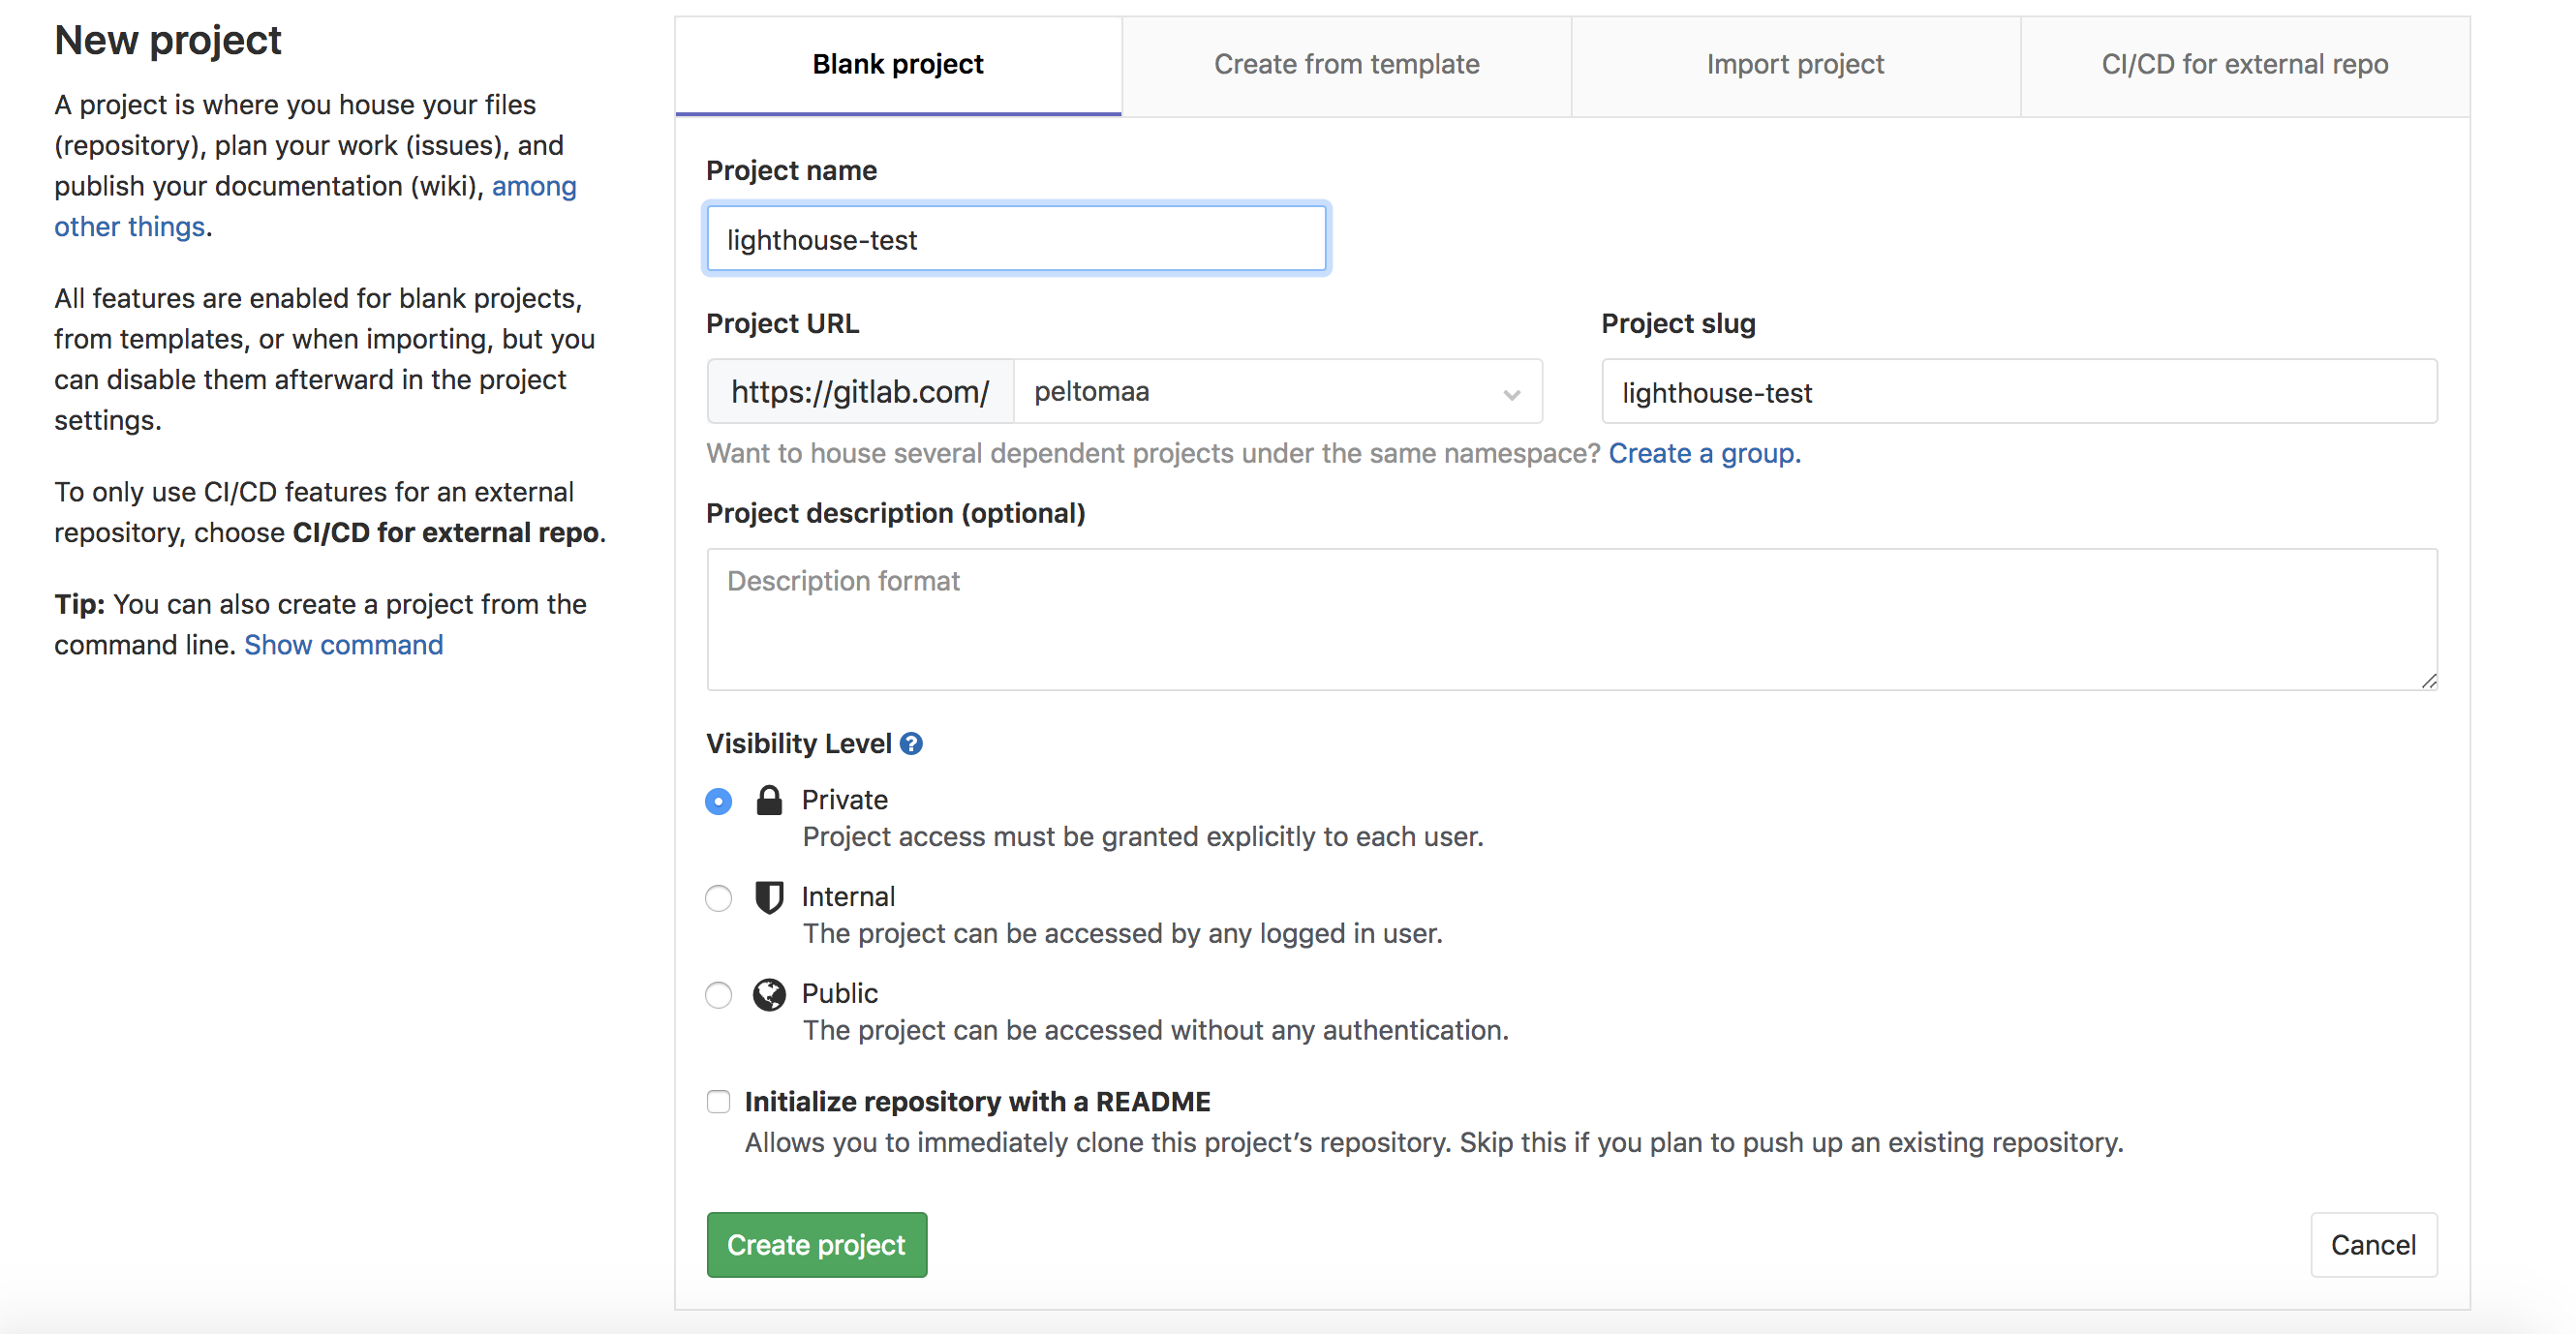 For example name your project like this:
 lighthouse-{your site}.
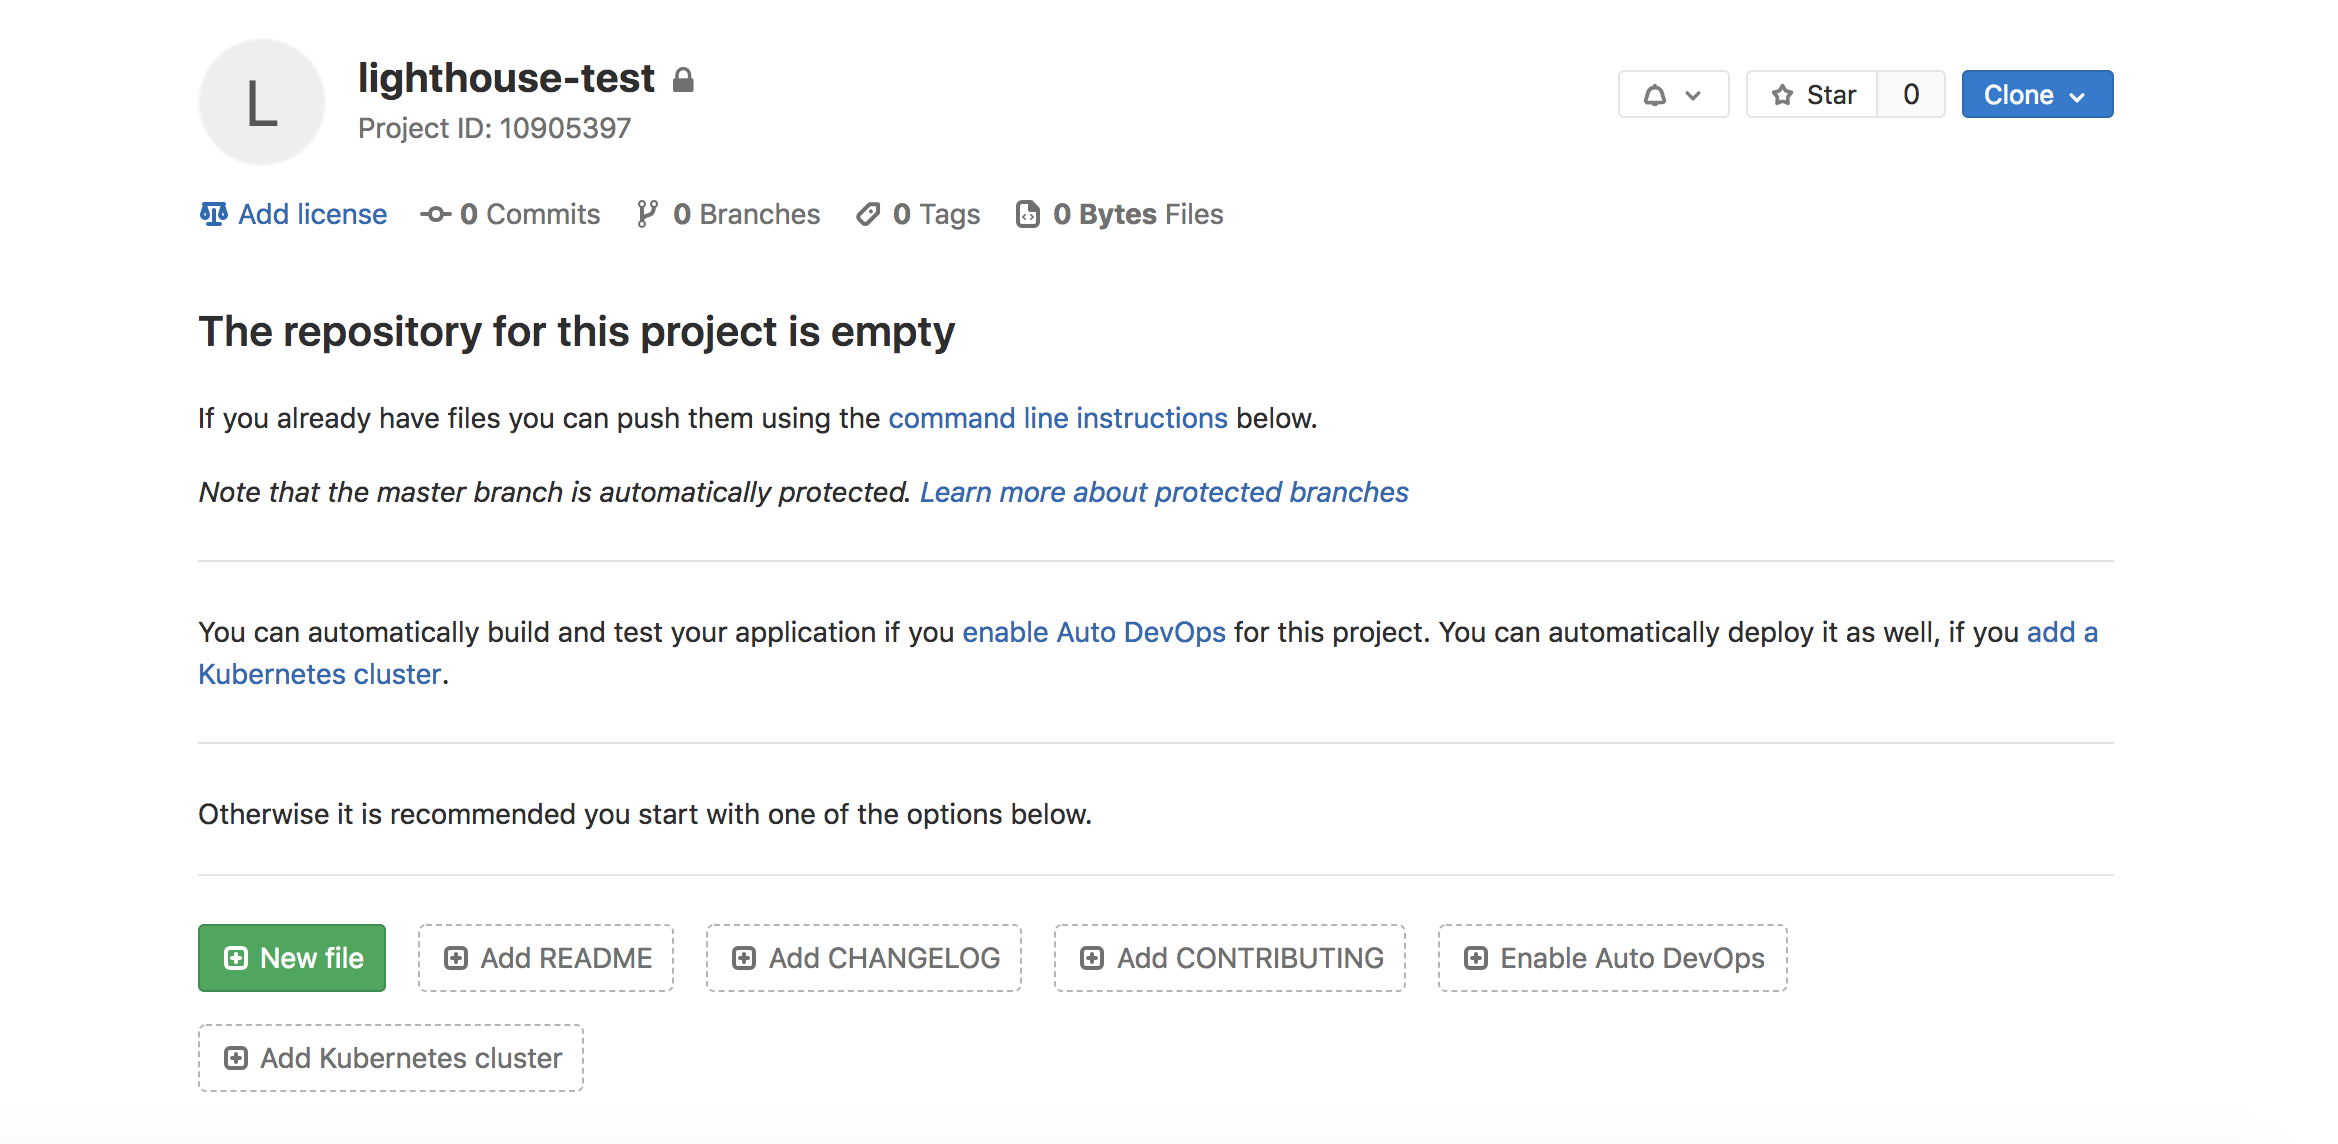
Finnish creating your project by pressing the Create project button. Pressing the button takes you to the next step.
3. Create .gitlab-ci.yml file
To add script where all the magic happens and click the New file button
The file

Copy the content of the file below and copy it into GitLab's file editor
Remember to replace {TEST Url} with the URL of the page you wished to be tested.
image: markhobson/node-chrome

run_lighthouse:
  variables:
    LIGHTHOUSE_TEST_URL: { TEST Url }
  stage: deploy
  environment: Production
  only:
    - master
  before_script:
    # Install Lighthouse
    - npm i -g lighthouse
  script:
    # Run Lighthouse test
    - lighthouse --chrome-flags="--headless --no-sandbox" $LIGHTHOUSE_TEST_URL --output html --output-path ./report.html
  artifacts:
    paths:
      - ./report.html
    expire_in: 1 week
Click Commit changes to finish creating the file.
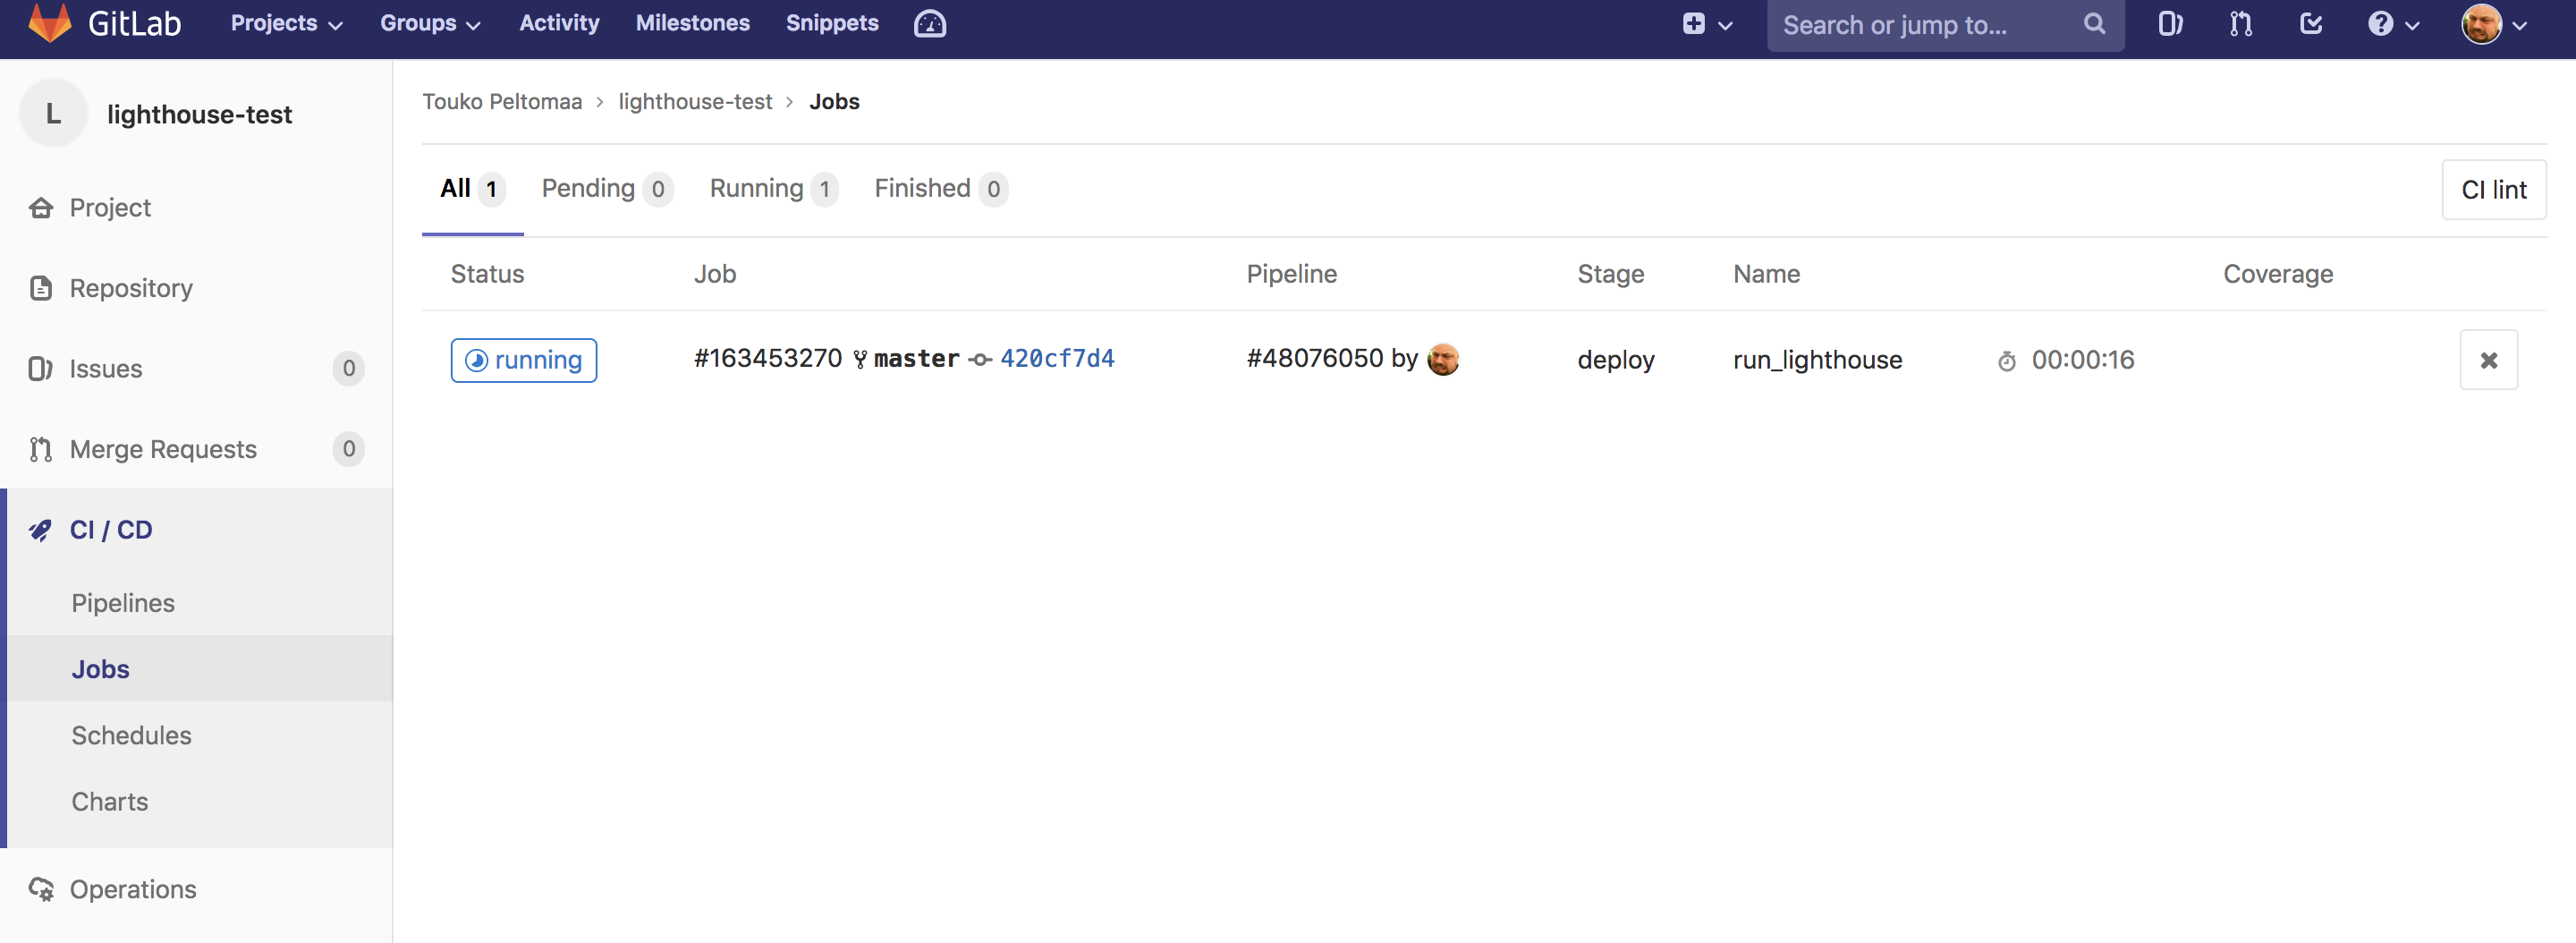
4. Test your job
After committing the changes the test should start right away.
Go to CI / CD -> Jobs on the sidebar to see your test running.
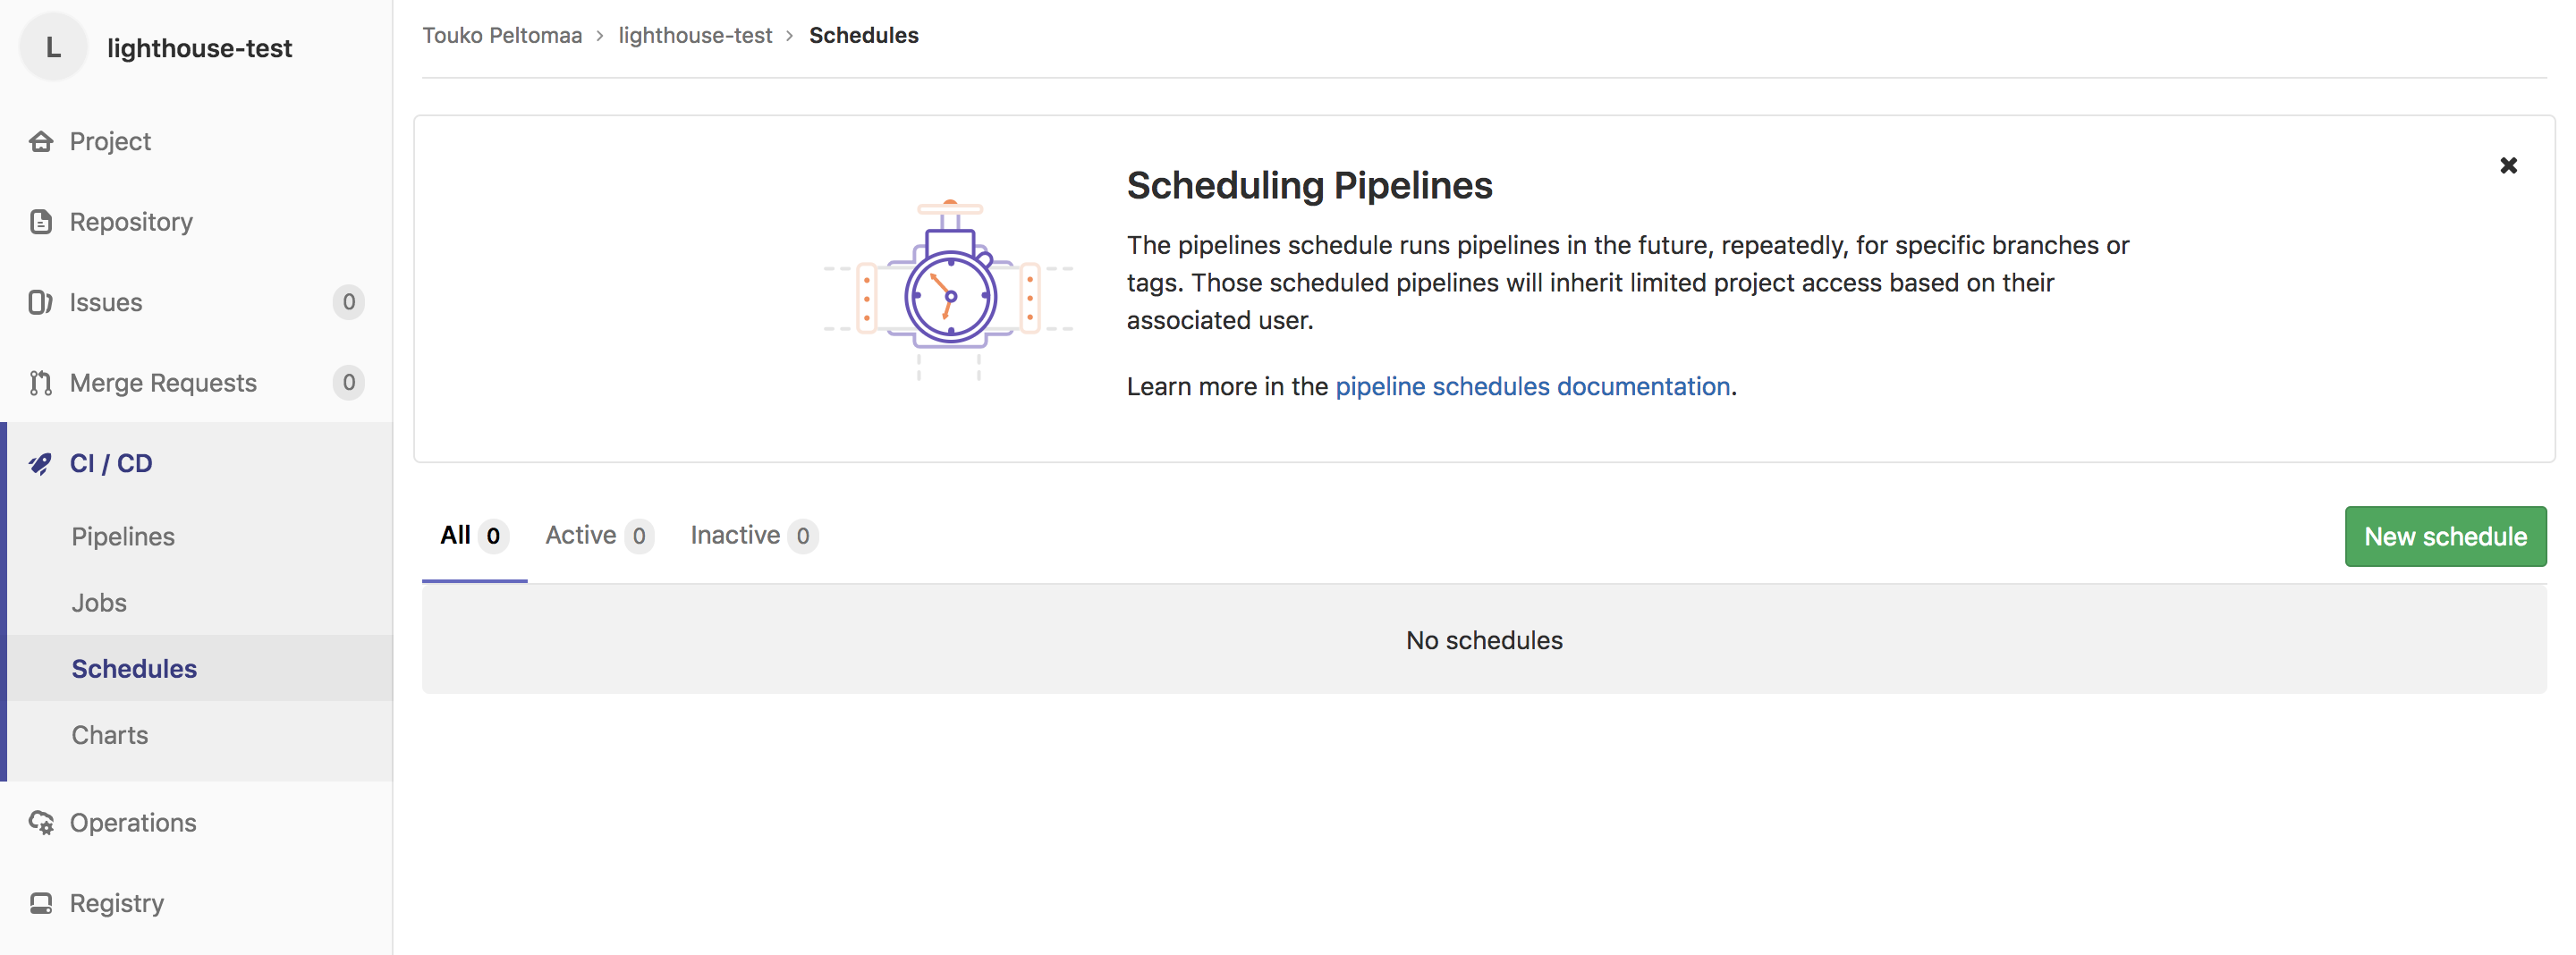
5. Schedule tests
To Schedule tests go to CI / CD -> Schedules and press Create schedule button
Set up schedule
Give your test a name and a schedule using Cron. More about Cron here.
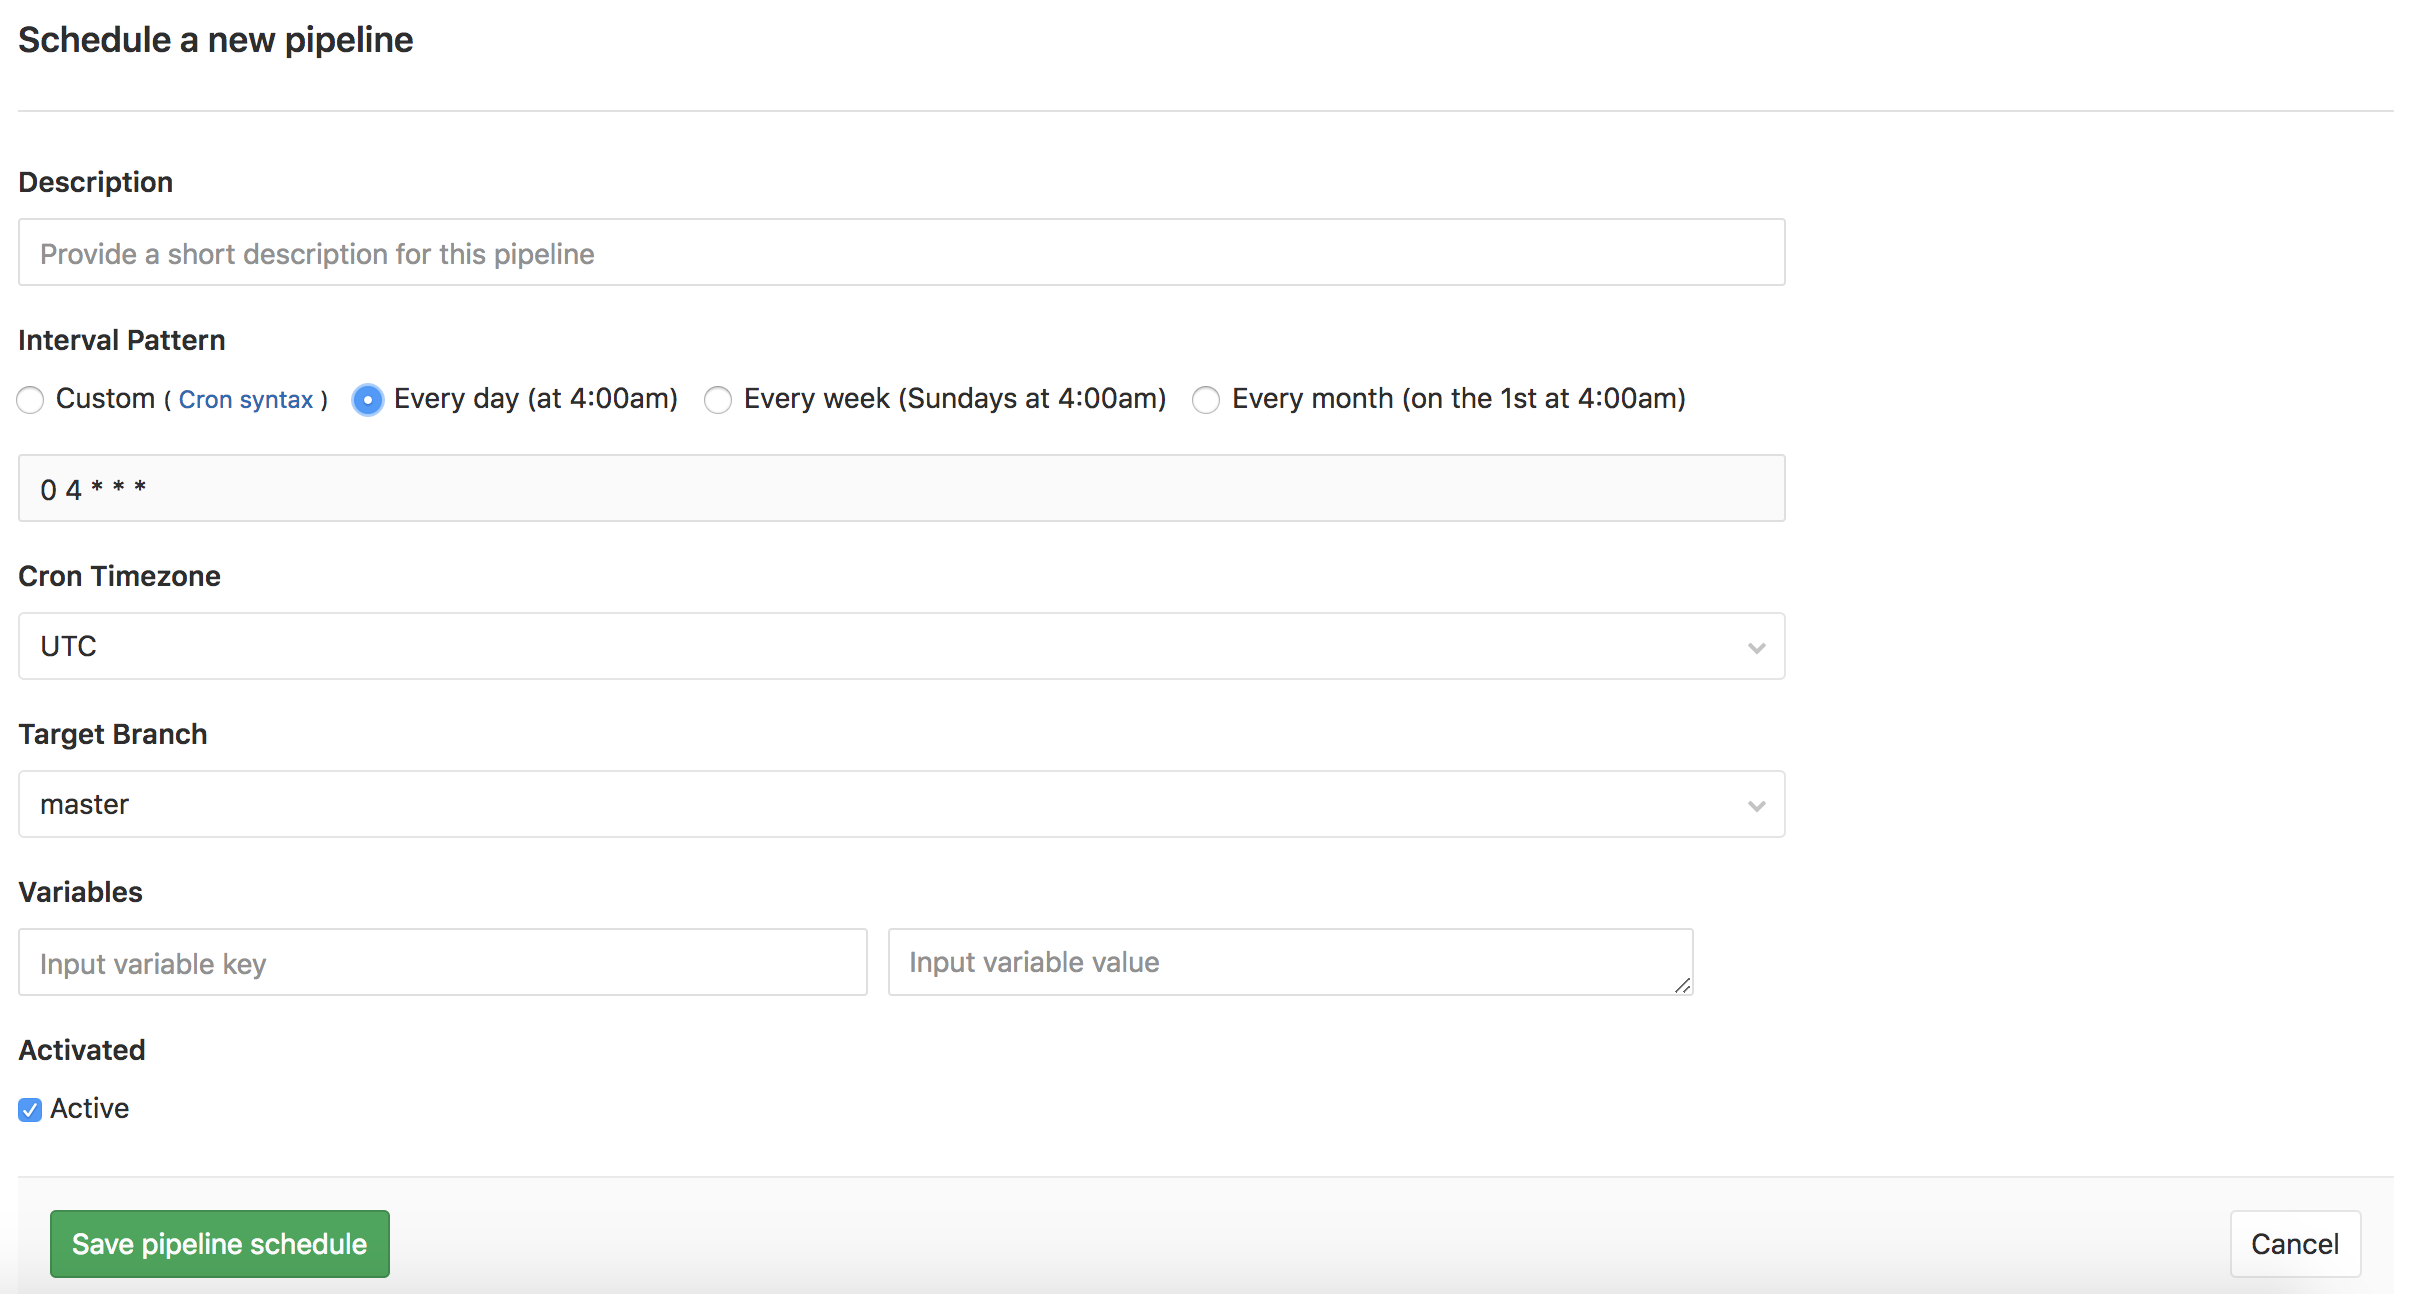 Press
Press Save pipeline schedule to finish your schedule.
Schedule is ready

6. Review your results
All your tests appear at CI / CD -> Jobs
 To download and view your Lighthouse reports click the cloud icon on the right.